Every MTW or Article Series gun comes with a service kit including an assortment of additional components that can vary depending on the model. See below for an explanation of each component that may be included with your gun.
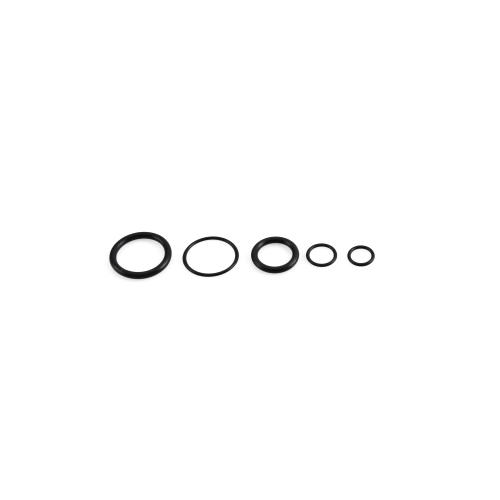
O-Ring Kit(s)
Your MTW may come with O-ring kits for your INFERNO HPA Engine, STORM Regulator, WRAITH HPA & CO2 Stock or QUAKE MTW Recoil Stock. These should be stored away for future maintenance. See the owner’s manuals for each product more information.
Replacement O-ring kits can be found here: https://www.wolverineairsoft.com/product-category/parts-and-accessories/o-rings/
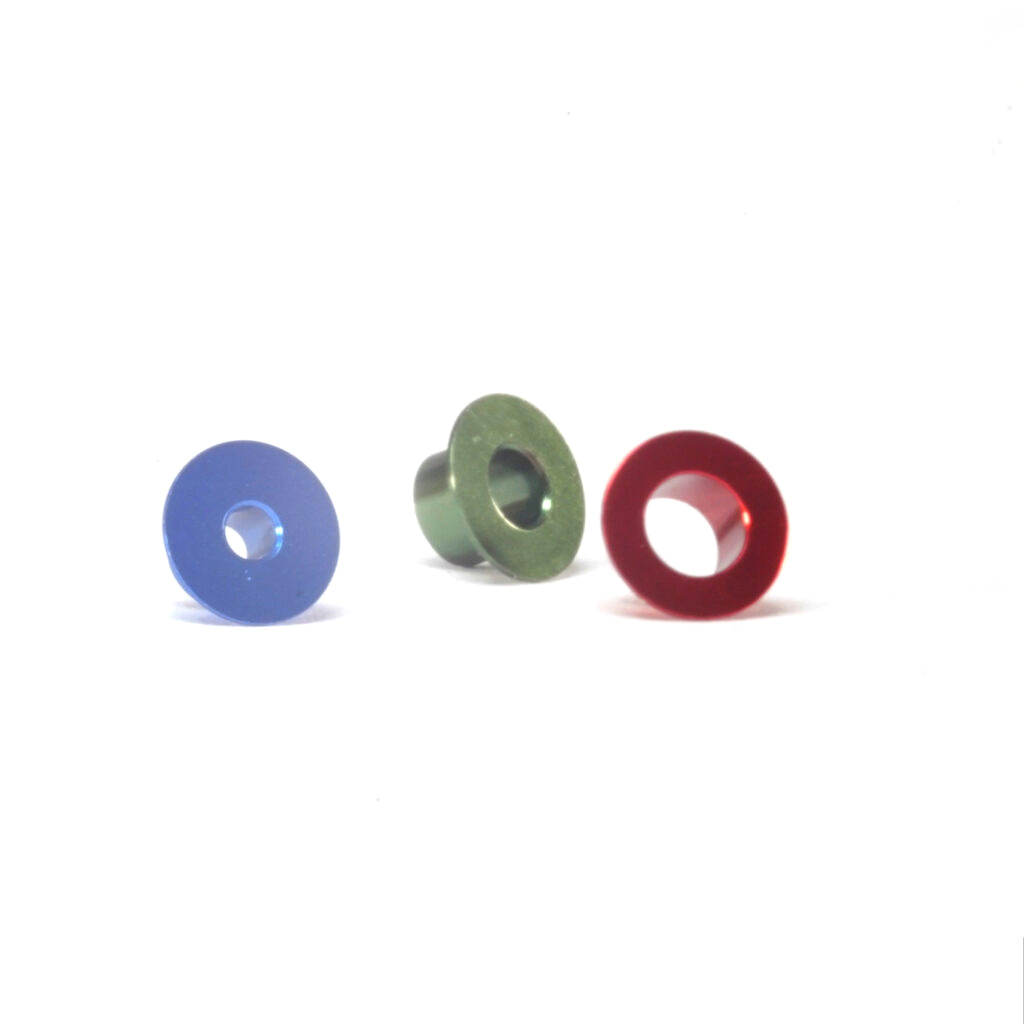
Flow Reducers
Flow reducers can optionally be installed in the INFERNO XTS HPA Engine to limit output pressure. If your MTW has a QUAKE MTW Recoil Stock, a green flow reducer has already been installed in your engine.
Learn more in the INFERNO XTS Owner’s Manual.
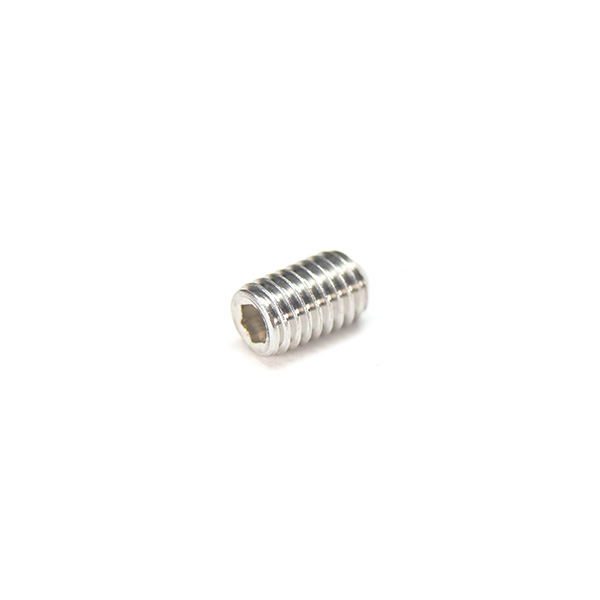
INFERNO XTS Recoil-Out Plug Screw
The 10-32 x 5/16 Recoil-Out Plug Screw should be installed in the rear of the INFERNO XTS when it is not connected to the QUAKE MTW Recoil Stock.
Learn more in the INFERNO XTS Owner’s Manual.
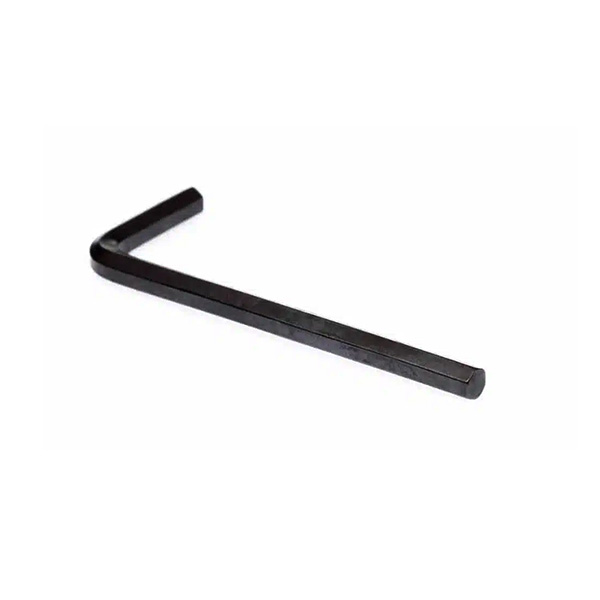
Hex Keys or “Allen Wrenches”
Your MTW may include two hex keys:
The larger 3/32 hex key is for adjusting pressure on a STORM Category 5 Regulator included in the WRAITH X or Heretic Labs Tank Grip.
The smaller 2mm hex key is for loosening the buffer tube on a WRAITH X to convert between HPA and CO2 configurations.
See your owner’s manual for more information.
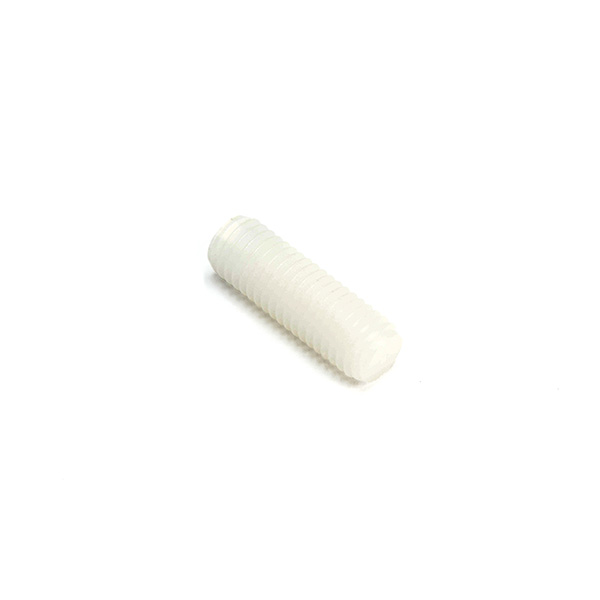
Receiver Tension Screw
This optional nylon screw can be installed into the lower receiver and adjusted to remove play between the upper and lower receiver.
More info: https://www.youtube.com/watch?v=Ckhqba_1PSU
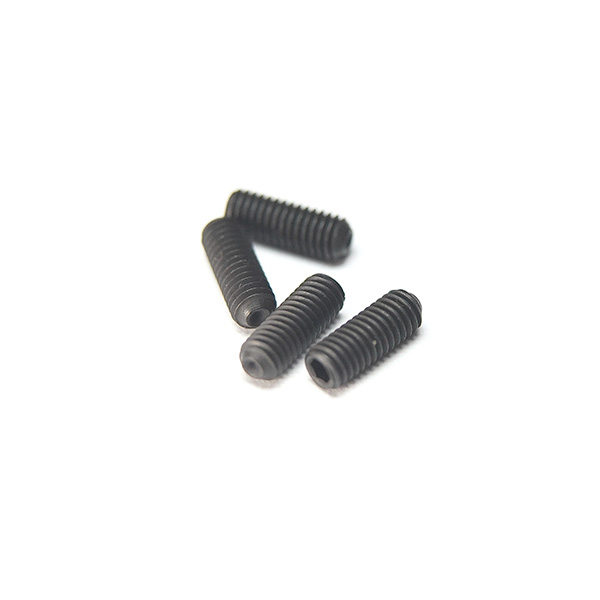
Trigger Adjustment Screws
The Heretic Labs Speed Trigger uses M3x8 set screws to adjust pre-travel, post-travel and trigger switch contact.
Learn more in the Article Series Owner’s Manual.