

AR Platform Receiver Play
Covers MTW-Spec replicas including MTW, MTW-9, MTW-308 and MTW MK18.

Every MTW or Article Series gun comes with a service kit including an assortment of additional components that can vary depending on the model. See below for an explanation of each component that may be included with your gun.
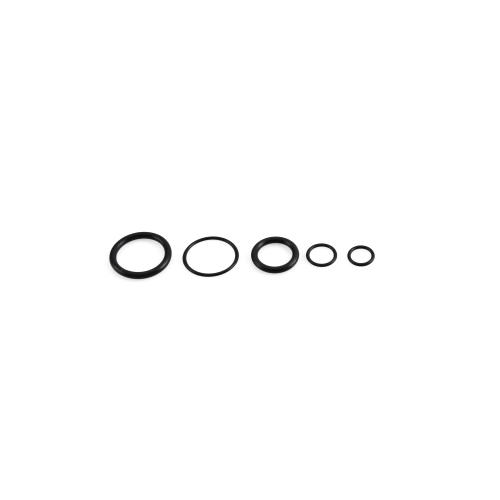
Your MTW may come with O-ring kits for your INFERNO HPA Engine, STORM Regulator, WRAITH HPA & CO2 Stock or QUAKE MTW Recoil Stock. These should be stored away for future maintenance. See the owner’s manuals for each product more information.
Replacement O-ring kits can be found here: https://www.wolverineairsoft.com/product-category/parts-and-accessories/o-rings/
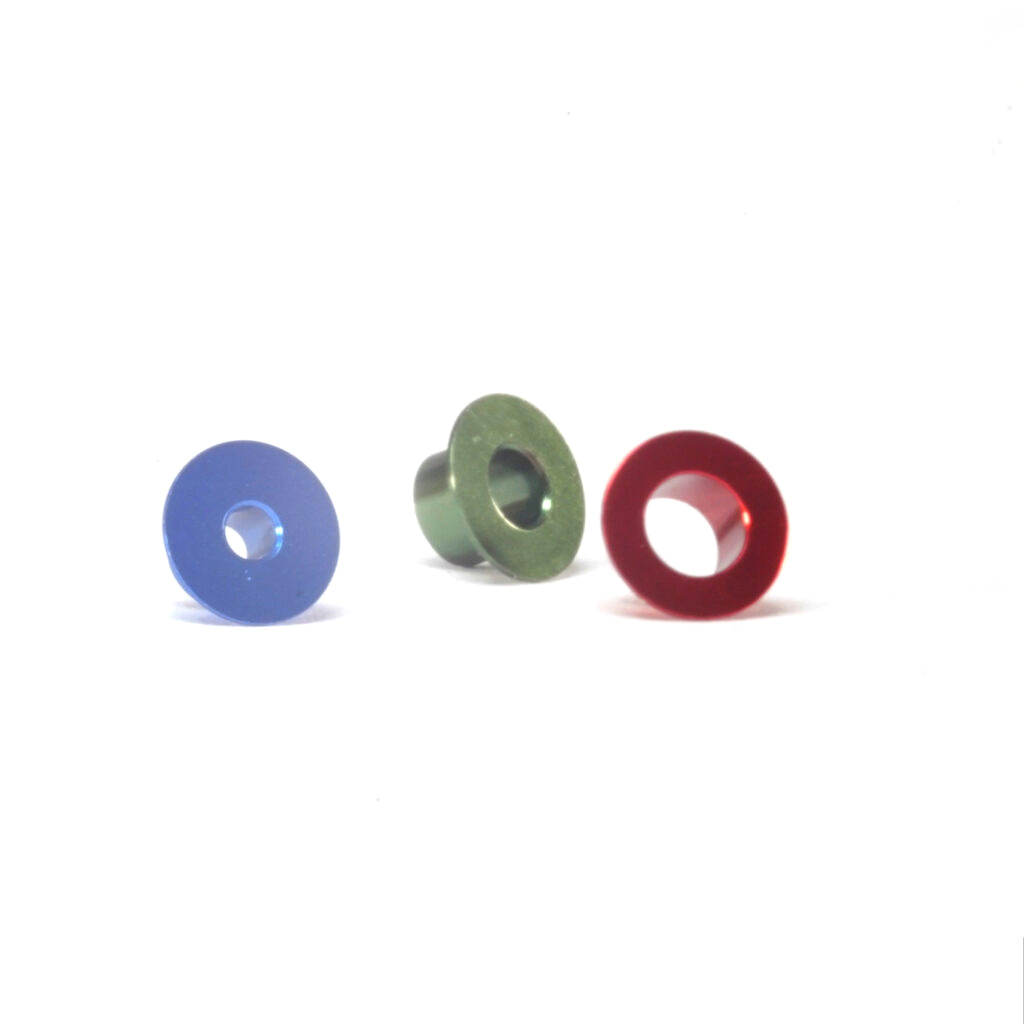
Flow reducers can optionally be installed in the INFERNO XTS HPA Engine to limit output pressure. If your MTW has a QUAKE MTW Recoil Stock, a green flow reducer has already been installed in your engine.
Learn more in the INFERNO XTS Owner’s Manual.
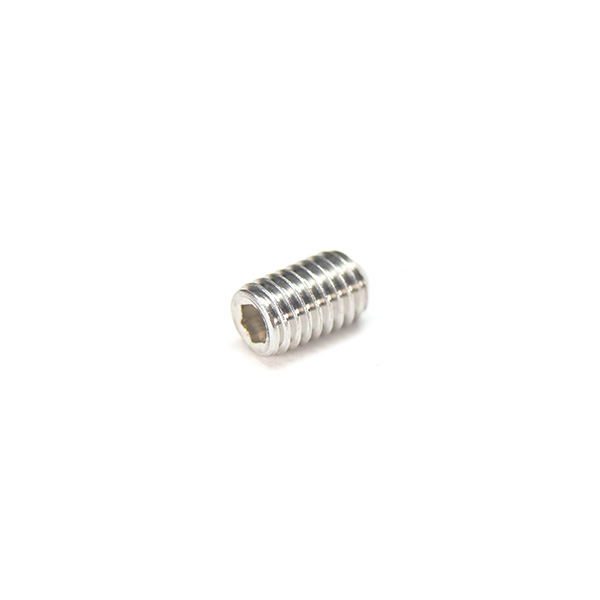
The 10-32 x 5/16 Recoil-Out Plug Screw should be installed in the rear of the INFERNO XTS when it is not connected to the QUAKE MTW Recoil Stock.
Learn more in the INFERNO XTS Owner’s Manual.
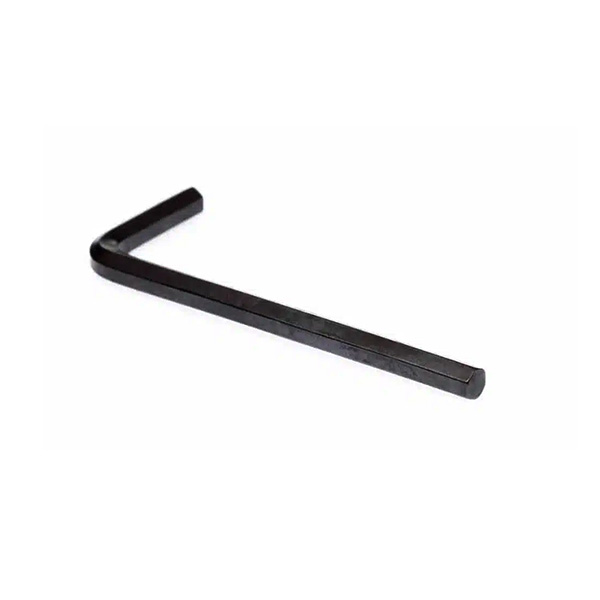
Your MTW may include two hex keys:
The larger 3/32 hex key is for adjusting pressure on a STORM Category 5 Regulator included in the WRAITH X or Heretic Labs Tank Grip.
The smaller 2mm hex key is for loosening the buffer tube on a WRAITH X to convert between HPA and CO2 configurations.
See your owner’s manual for more information.
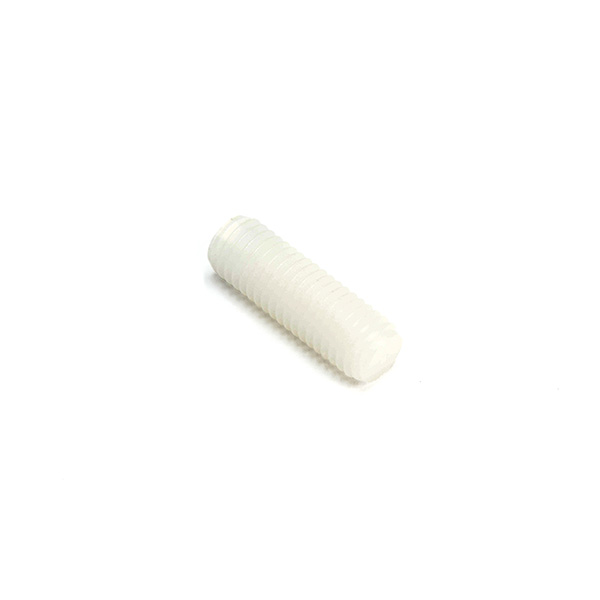
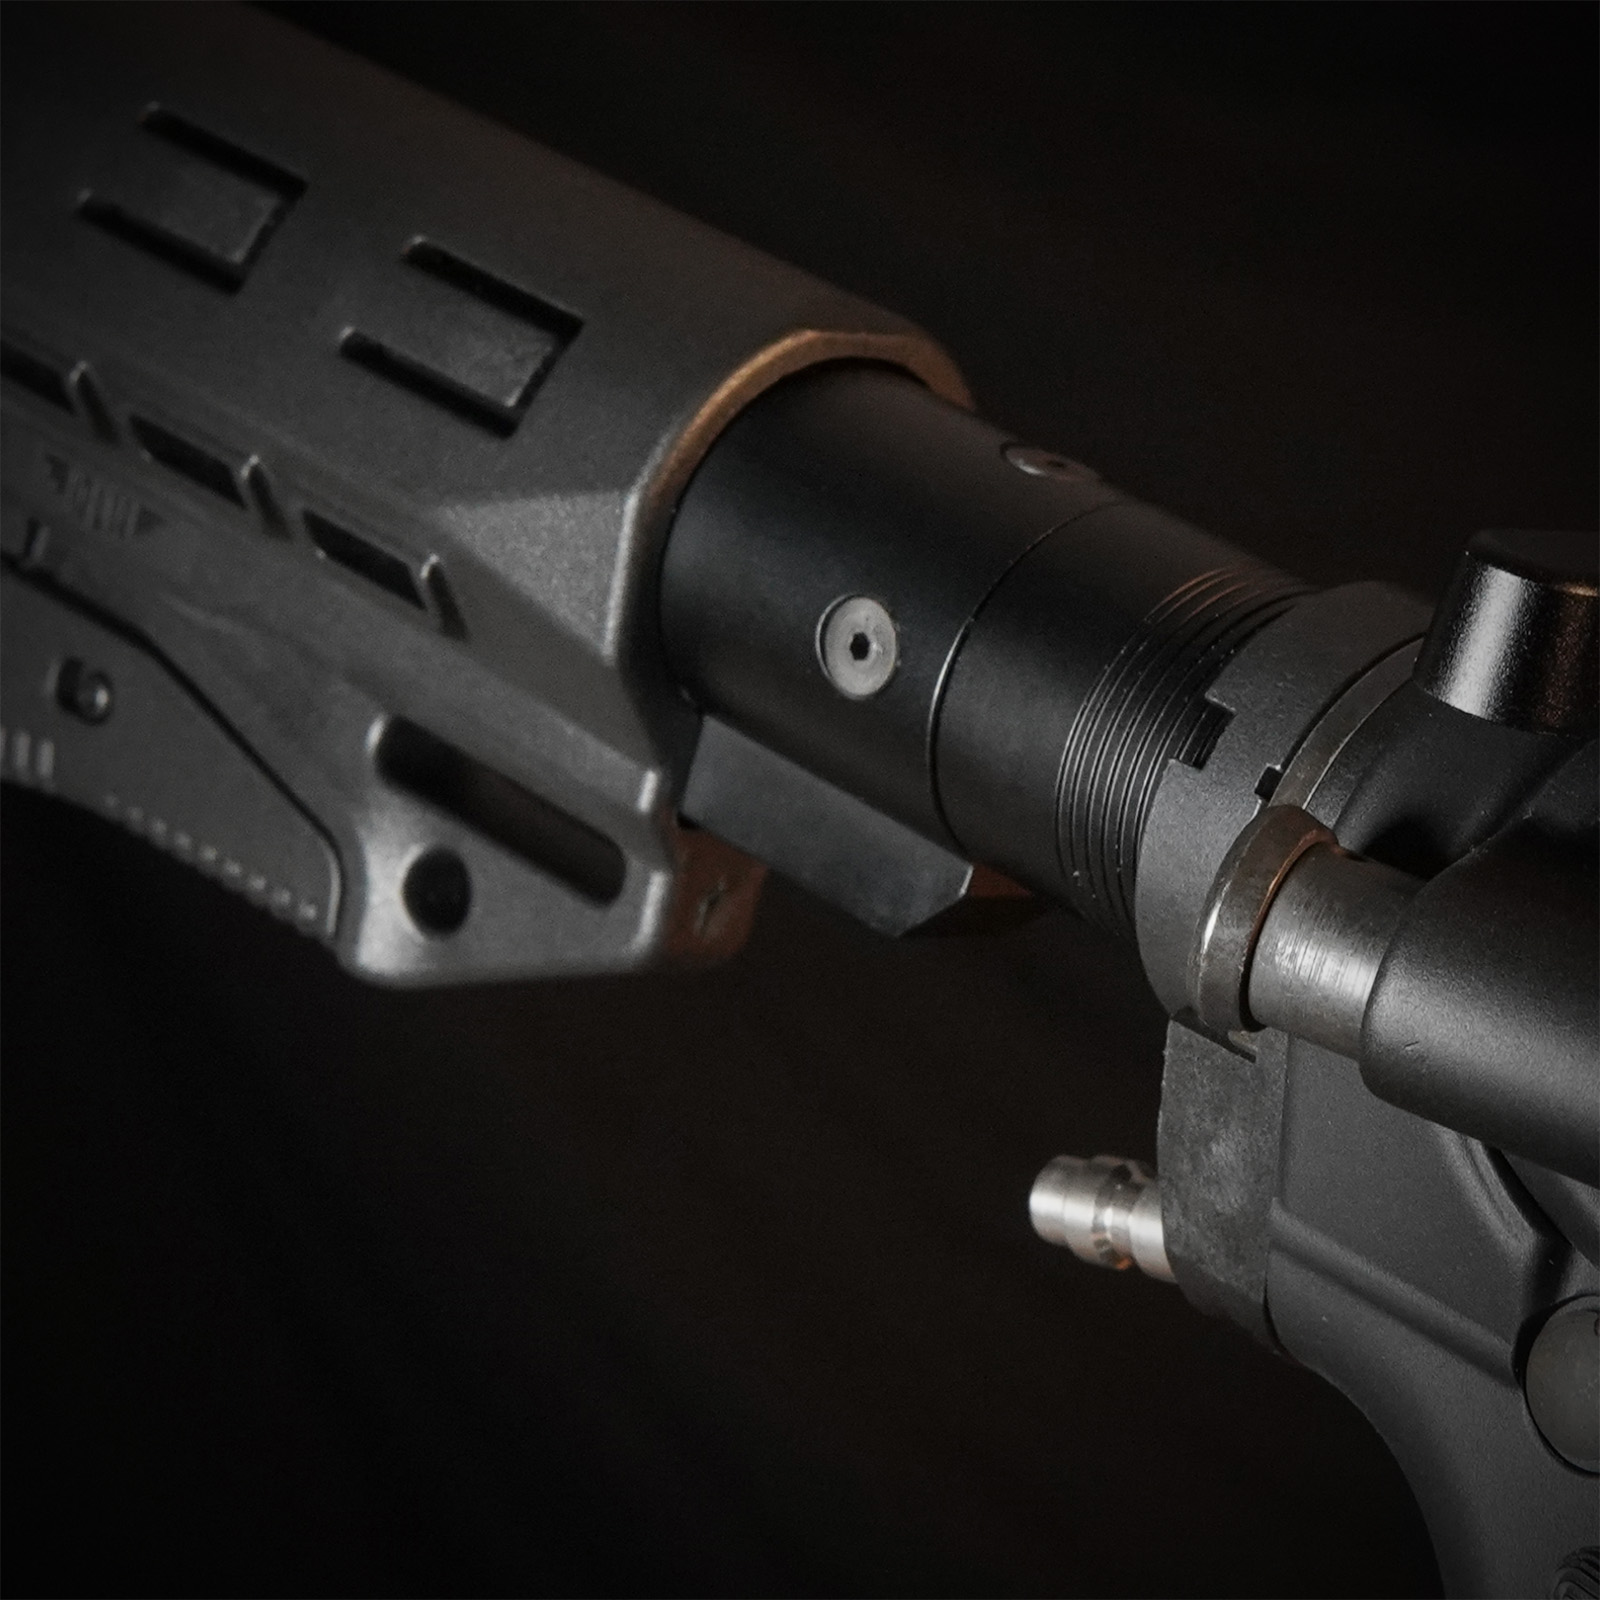
This optional nylon screw can be installed into the lower receiver and adjusted to remove play between the upper and lower receiver.
More info: https://www.youtube.com/watch?v=Ckhqba_1PSU
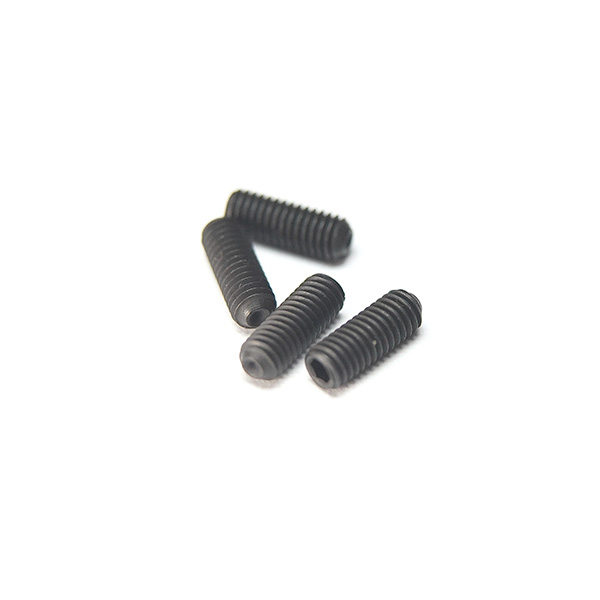
The Heretic Labs Speed Trigger uses M3x8 set screws to adjust pre-travel, post-travel and trigger switch contact.
Learn more in the Article Series Owner’s Manual.
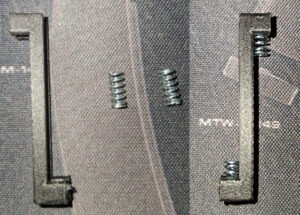
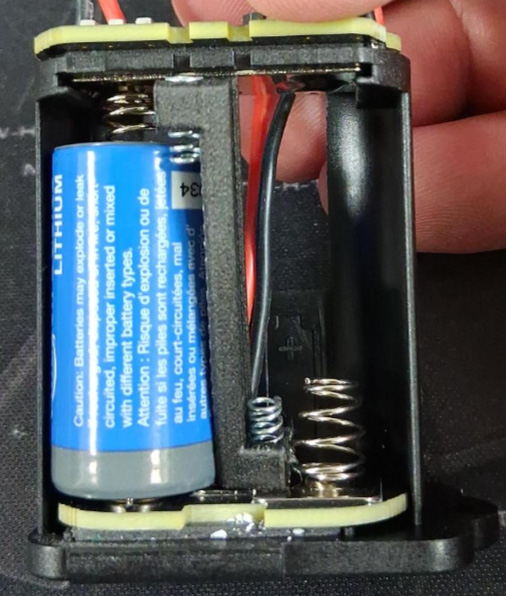
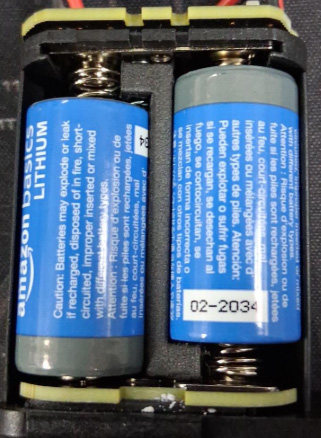
If your MTW with Battery Grip is entering programming mode during gameplay, especially when used with the QUAKE MTW, it could be because of a loose connection due to different size specs of CR123 batteries. This behavior does occur with accessories on real firearms due to recoil.
As a solution, we recommend installing the Battery Grip Bracket to increase tension and hold the batteries securely in place.
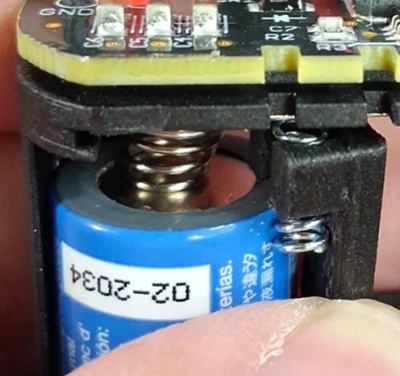
Install the springs into the bracket as shown.
Install the left-hand battery into the grip.
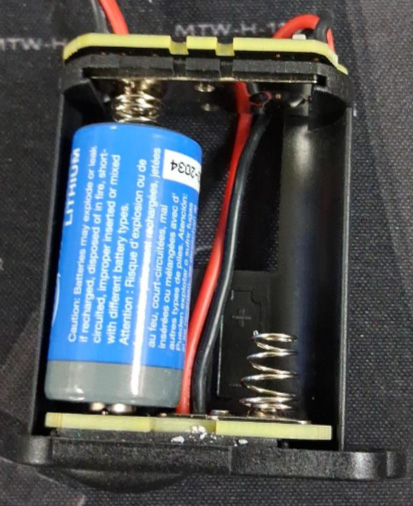
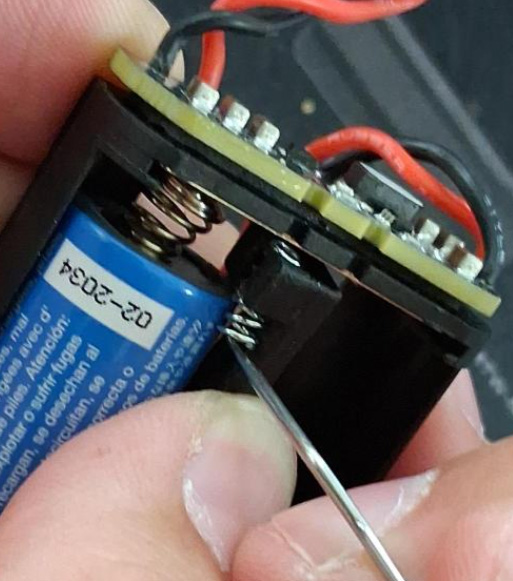
Take the bracket with spring and slide the bottom end in first.
Then take and push the top end in a little to provide a backing for the spring.
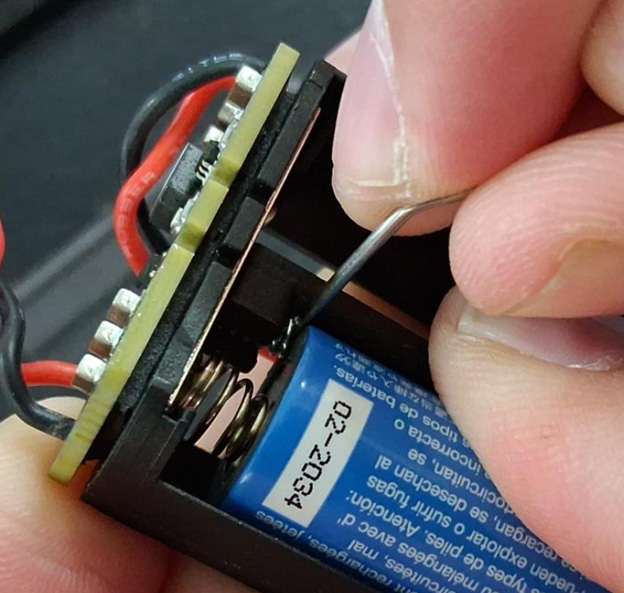
With a small screwdriver or hex key, push the top spring up to then push the top of the bracket into place.
Make sure the spring and the bracket are full set into place before installing the right-hand battery. This may require you to help guide the spring into place on the top end.
Finally, you can install the right-hand battery like normally.
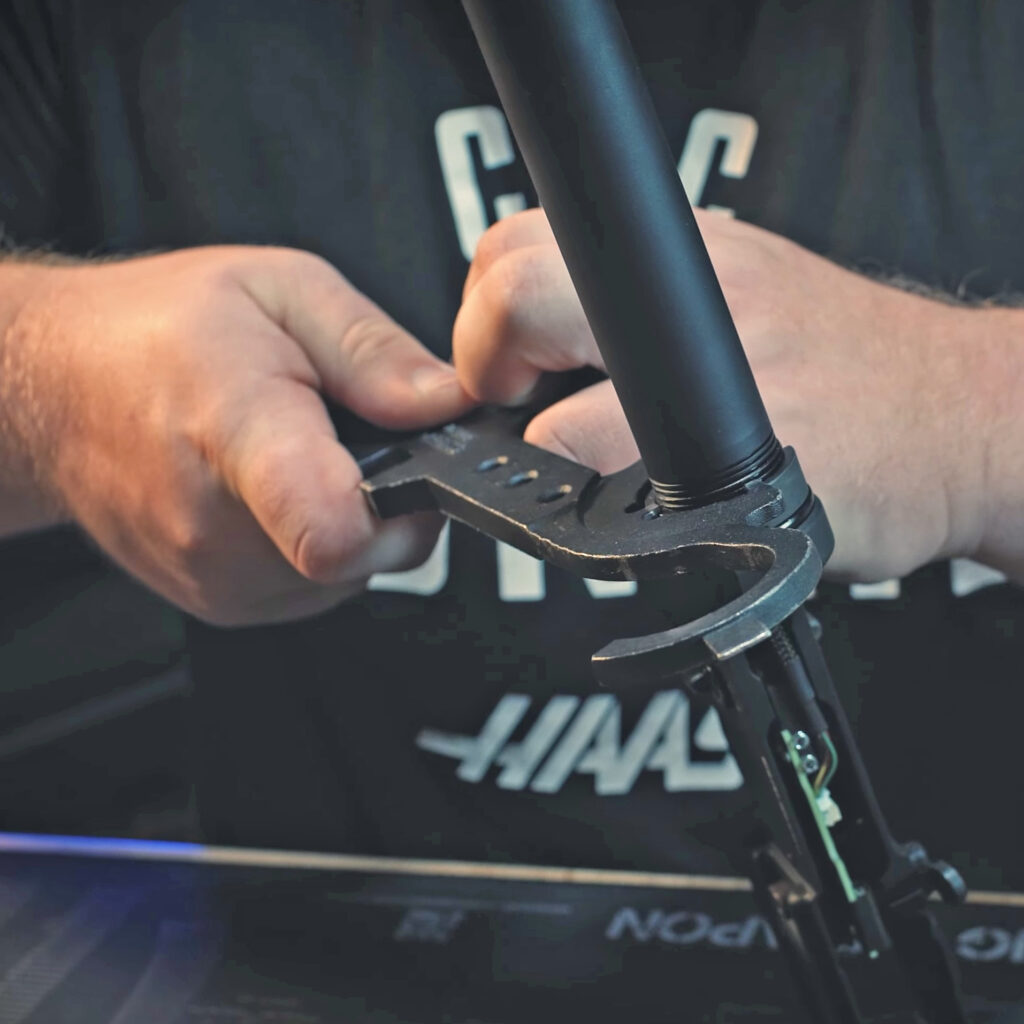
Like a real firearm, the MTW uses a real steel castle nut which can be removed with an armorer’s wrench by turning it counter-clockwise.
The buffer tube should then unscrew counter-clockwise from the lower receiver.
On MTWs with the FRAC installed like the MTW-308 and Gen-12 MTW Shotgun, a small amount of blue Loctite is applied to the buffer tube threads during manufacturing, requiring a little additional force to remove.
When reinstalling the buffer tube, make sure you don’t screw it past flush with the inside of the lower receiver.
PTS EPM1 Magazine Maintenance Tutorial by PTS
ASG Scorpion EVO Magazine Maintenance Tutorial by AirsoftCamMan.