Ensure Bluetooth is enabled on your phone or tablet.
Ensure the BLINC is powered on and in Discovery Mode by disconnecting the battery and reconnecting it. You should hear one beep and the gun should be able to operate. It will remain in Discovery Mode for one minute. You can also restart Discover Mode by pressing the bolt catch (The board will not beep in this case).
Ensure the BLINC is not currently connected to another phone/app. If so, disconnect and/or remove the device on the other phone/app then try again.
If the BLINC App is prompting you to change the selector switch but fails to pair,ensure the selector switch is properly prepared for use with an optical selector switch and confirming the gun switches between Semi and Full Auto. NOTE: The BLINC uses the Select Fire Threshold setting in the Wolverine Airsoft BLINC App to determine the selector switch value, even when pairing. If this value has been set too high or too low, it may be necessary to factory reset the BLINC to restore the default value.
If pairing a board that is not installed in a gun, use your finger to cover the optical sensor to simulate changing the selector switch.
Ensure the MTW is not in Live Fire Tuning Mode See. (MTW fires when trigger is released) If so, disconnect the battery and reconnect it. Alternatively, allow the board to time out automatically after one minute of no activity.
If none of these steps work, it may be necessary to factory reset the BLINC.
Error Codes
Errors
Cause
Platform Exception (bluetooth must be turn on)
Turn your phone or tablet’s Bluetooth on.
Connection Error: Timeout Exception or InternalHandshake
The app could not pair. See the Optical Selector Switch instructions above.
Connection Error: Timed out after 4s or Failed to connect to FlutterBluePlusException | fbp-code: 1
The board could not be found. Make sure it is powered on and in discovery mode. In some cases rebooting your phone may be necessary.
Factory Reset
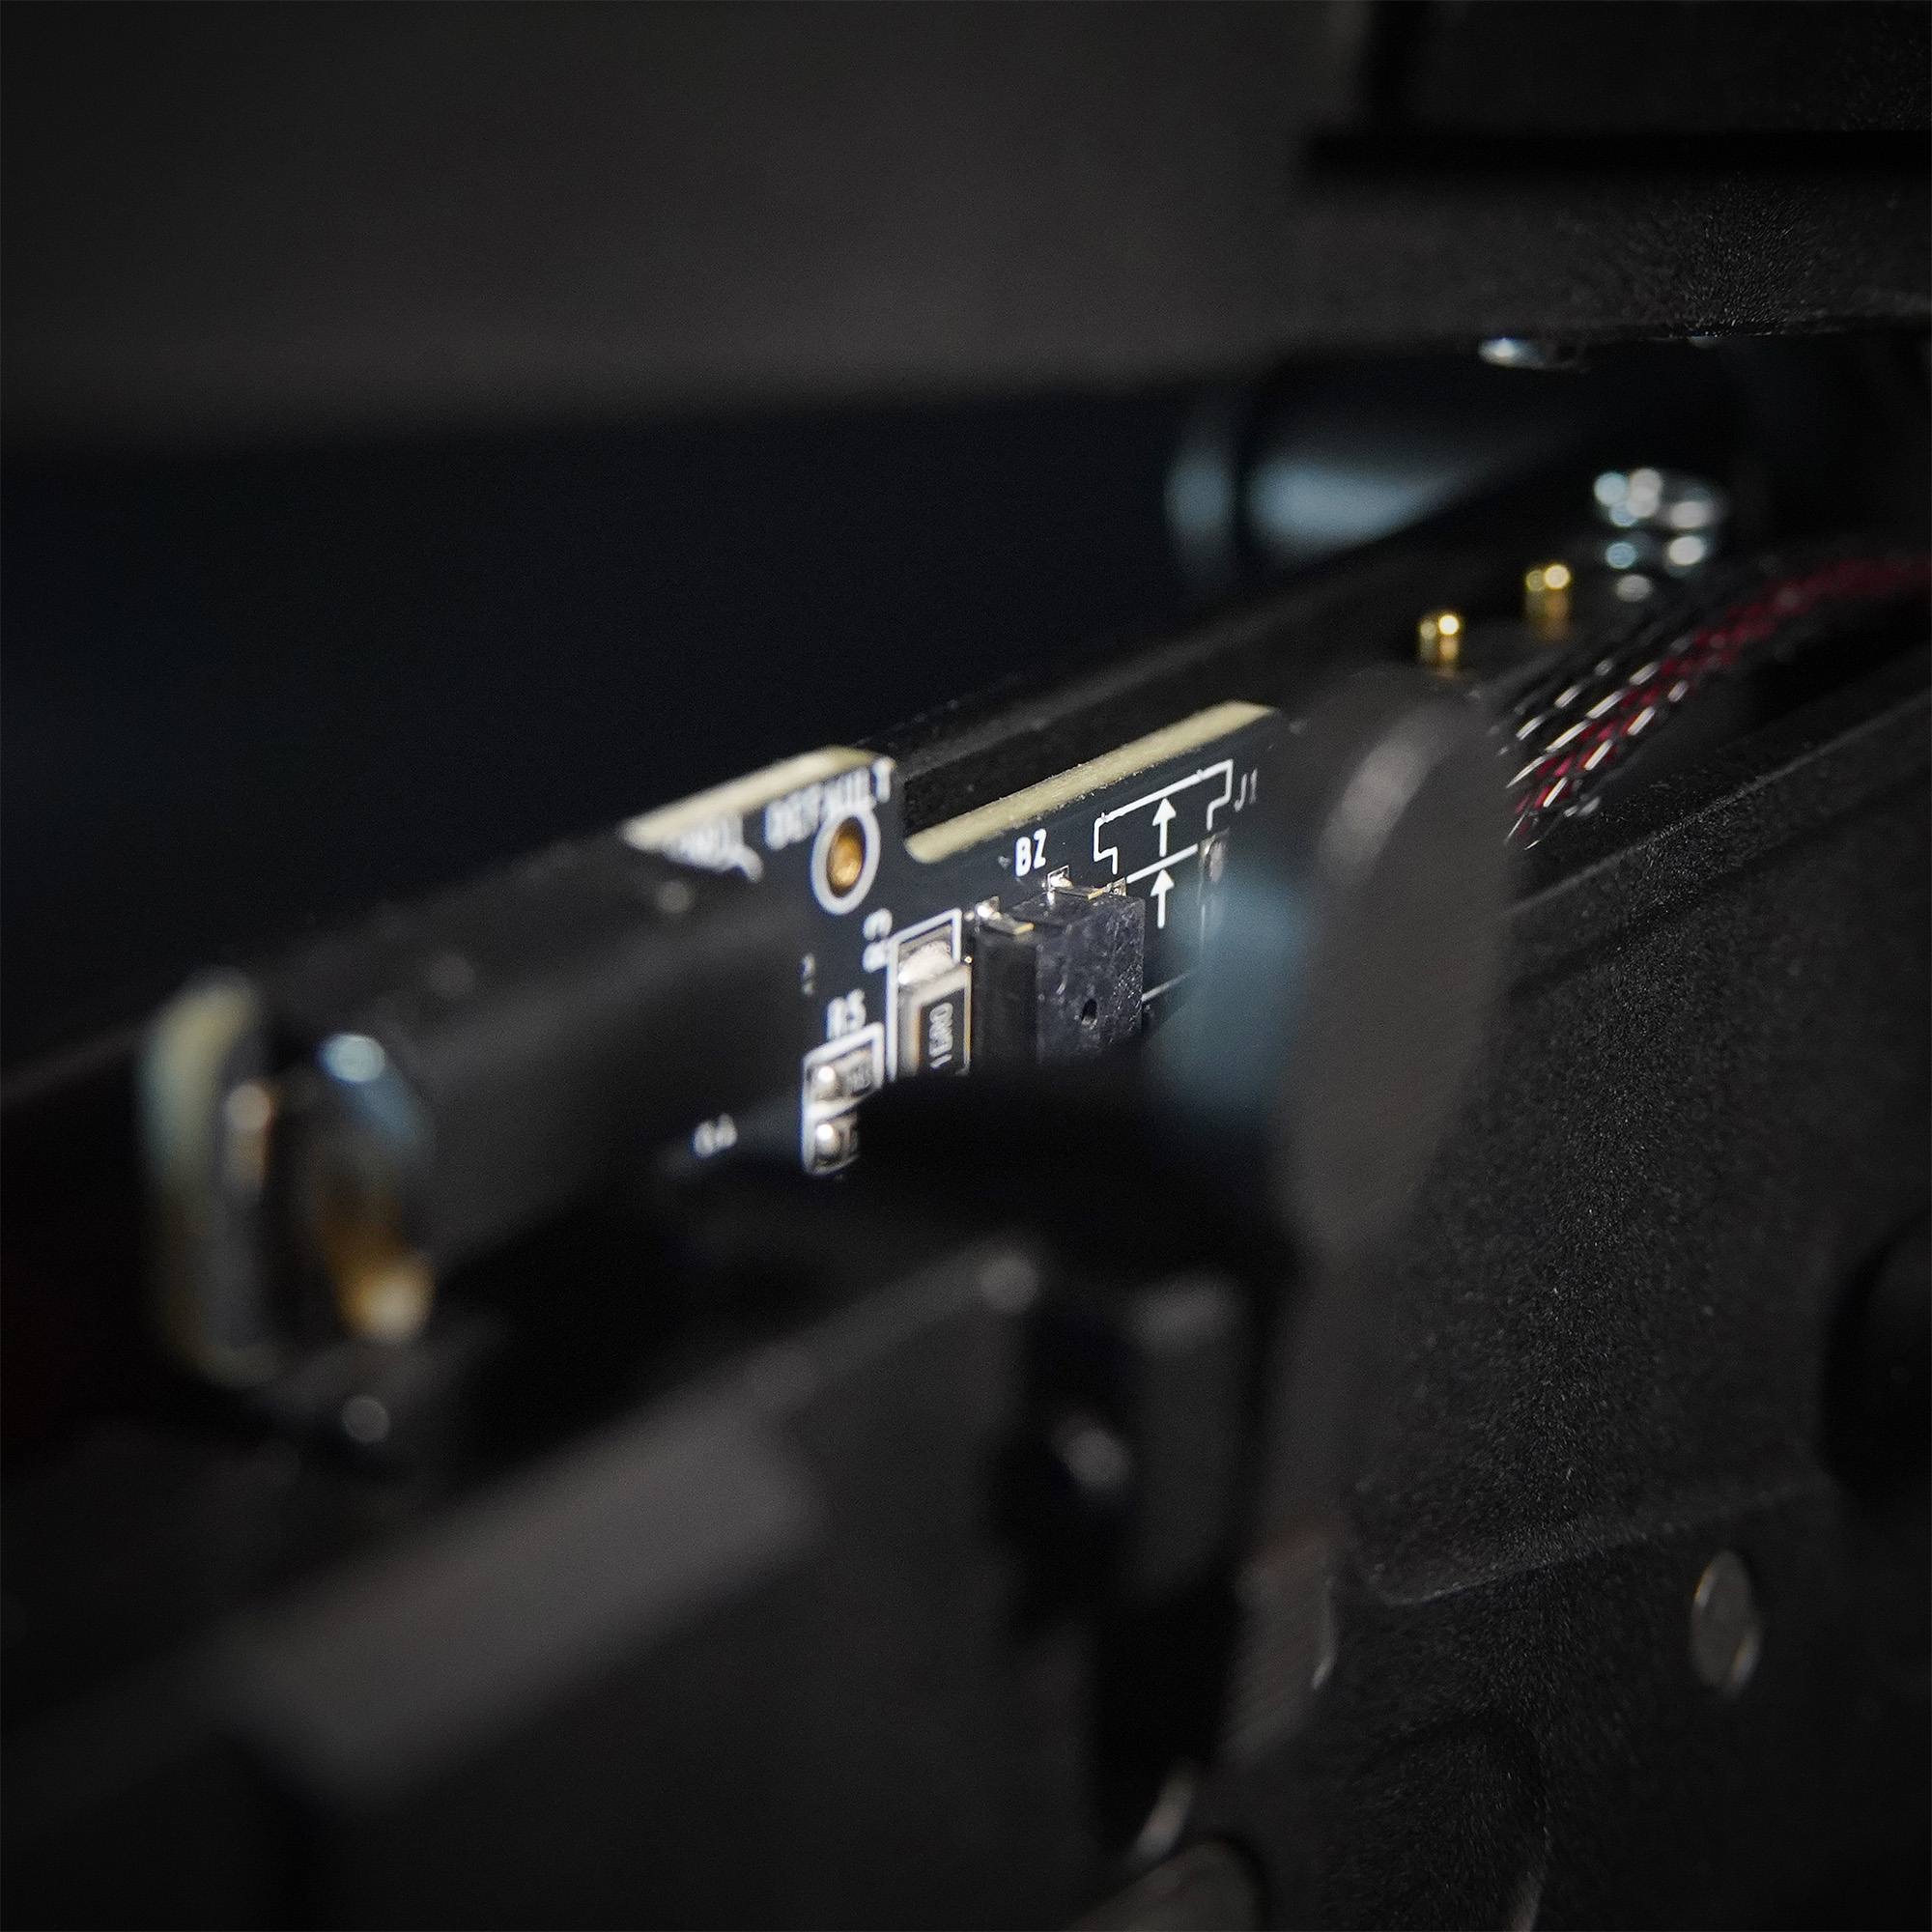
To factory reset the BLINC and restore default settings, disconnect the battery and open the receiver. Insert a small wire or paper clip into the GND1 and DEFAULT through-holes on the board. Connect the battery. The BLINC will beep 3 times to indicate it has been reset. Remove the wire or paper clip.
AEG Conversion Kits include an HPA engine and airline as well as required electronics components for standard installations. For example, our INFERNO kits are available in the four options.
V2 Kit
INFERNO with M4 Nozzle
V2 Trigger Board
Premium FCU
14″ Wire Harness
V2 Spartan Kit
INFERNO with M4 Nozzle
Spartan Electronics
14″ Wire Harness
V3 Kit
INFERNO with AK Nozzle
V3 Trigger Board
Premium FCU
12″ Wire Harness
M249 Kit
INFERNO with M4 Nozzle
Premium FCU
M249 Wire Harness
Choosing the right kit
See the list below to ensure you obtain the correct kit for your replica. See also that some replicas require additional components not part of our standard kits. For example, for the A&K Masada, you’ll need to swap your INFERNO’s nozzle for an A&K Masada nozzle, as well as swap out your kit’s 14″ V2 Wire Harness for the shorter V3 12″ Wire Harness.
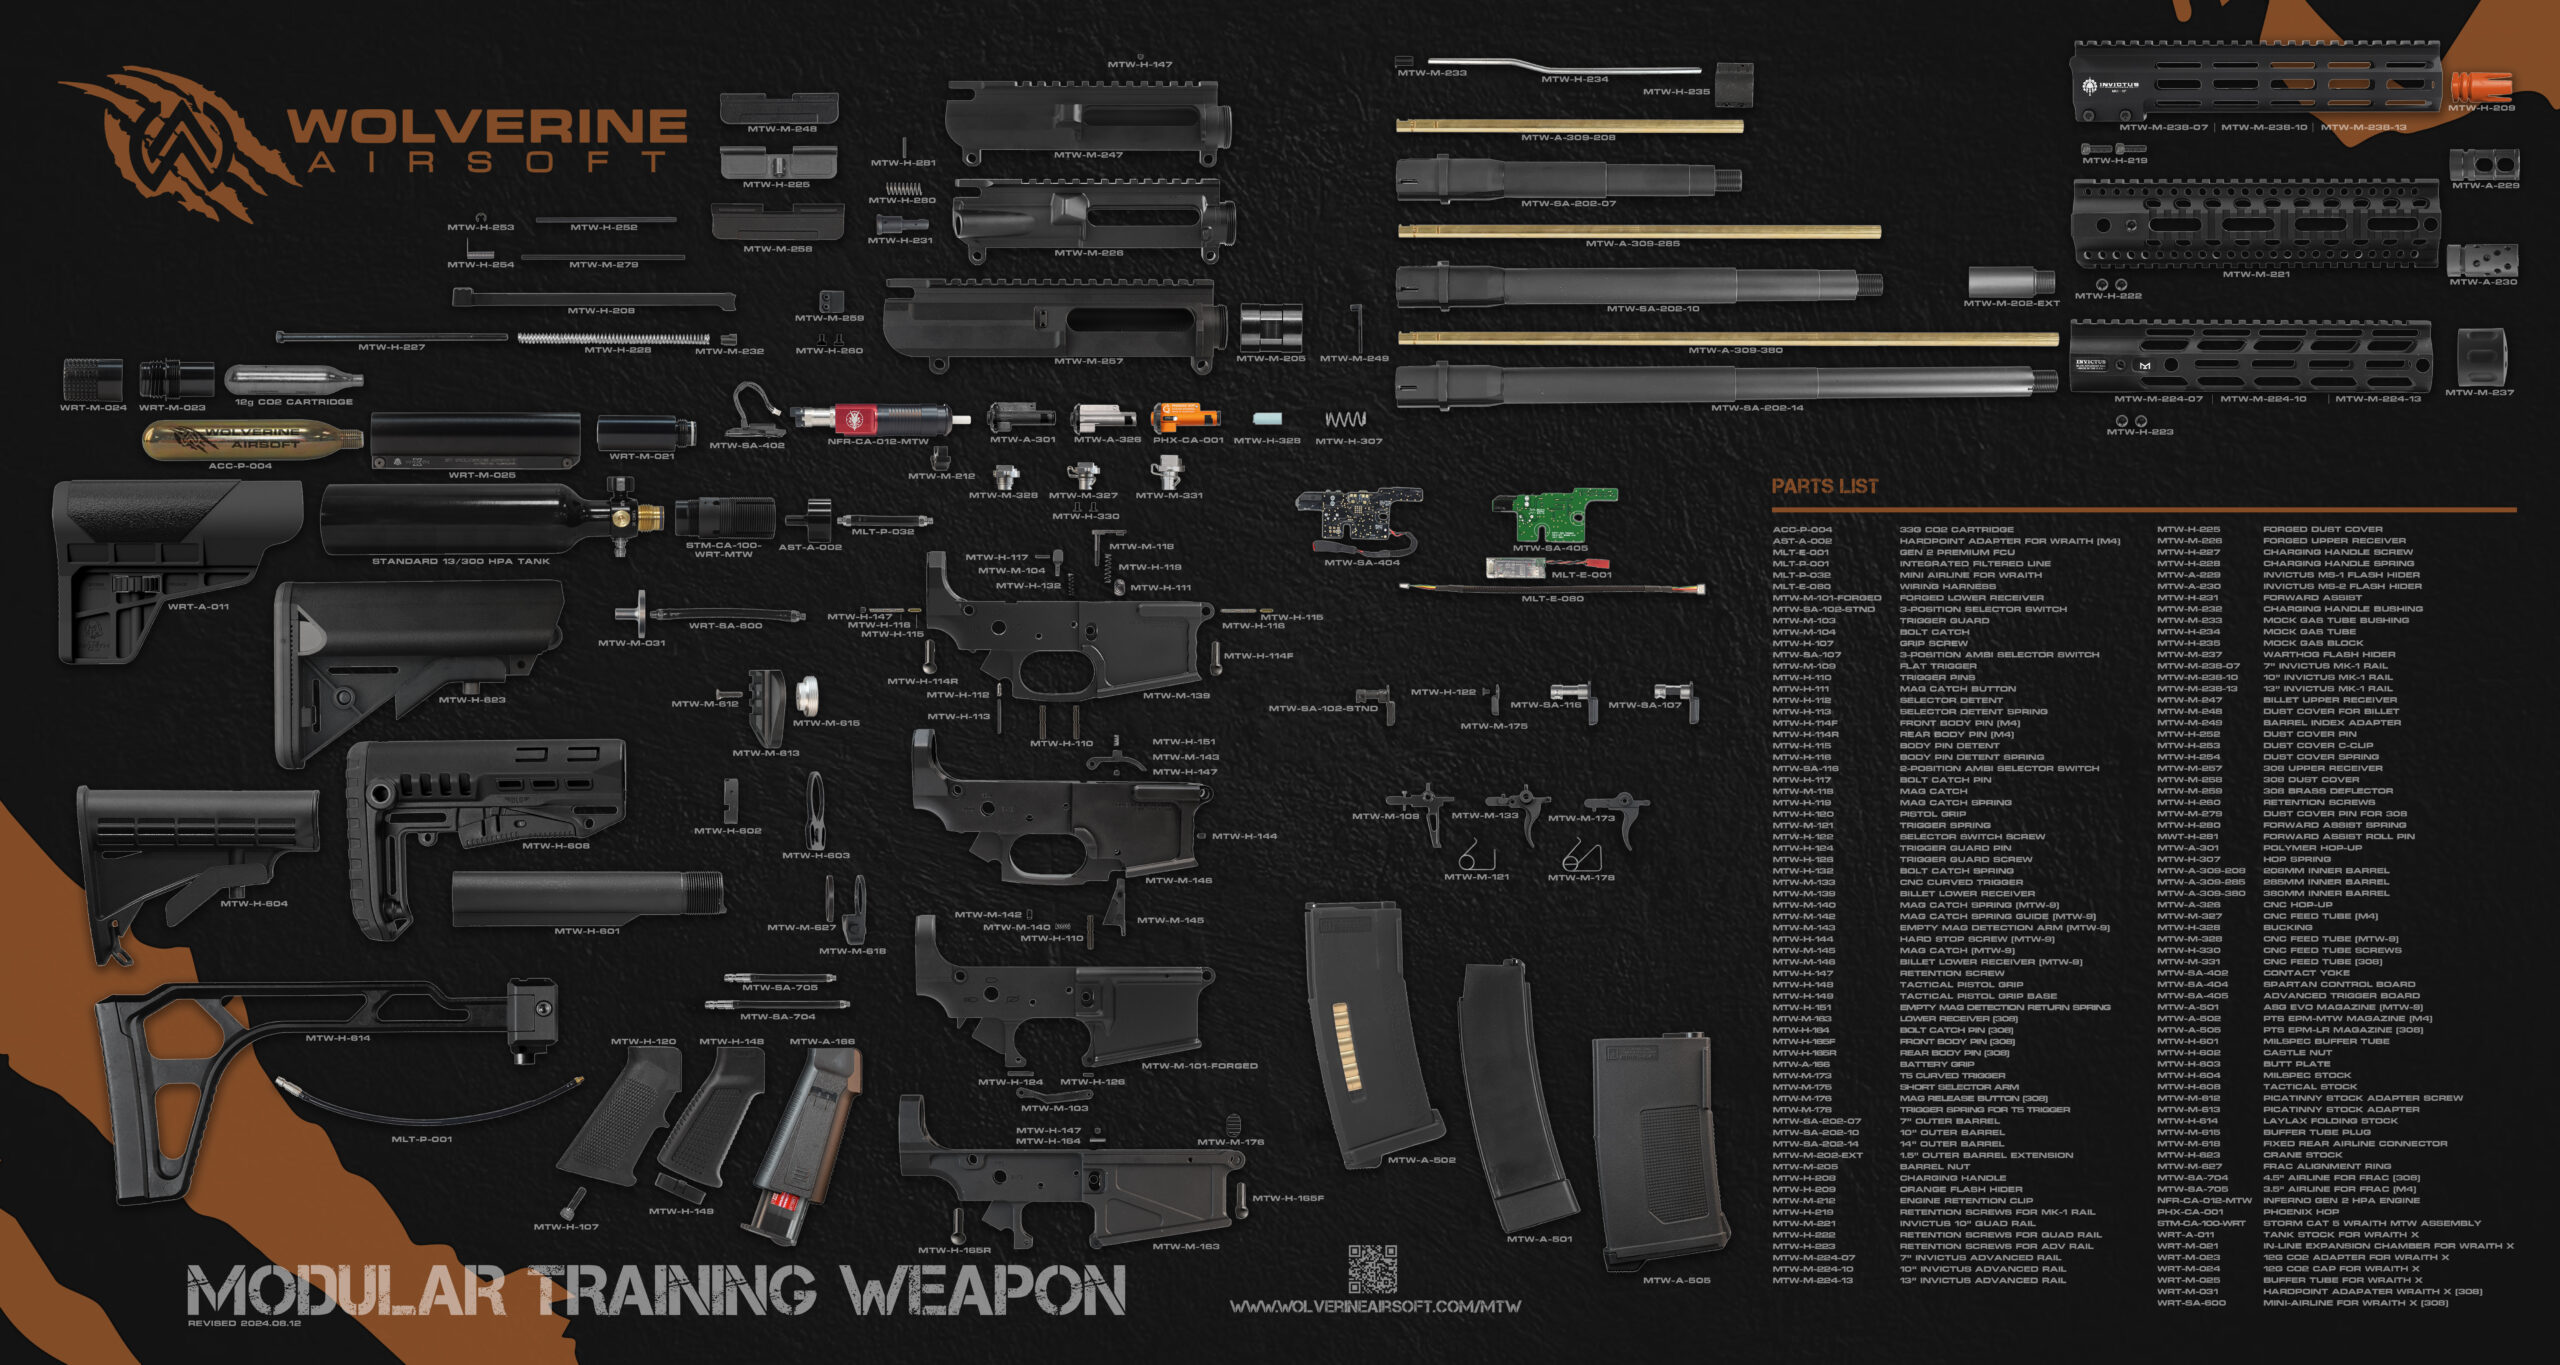
The MTW is designed to be a modular platform with highly interchangeable parts within the MTW-Spec family, with real steel firearms, and with AEGs when possible. The chart below can help you answer compatibility questions among different components and MTW series.
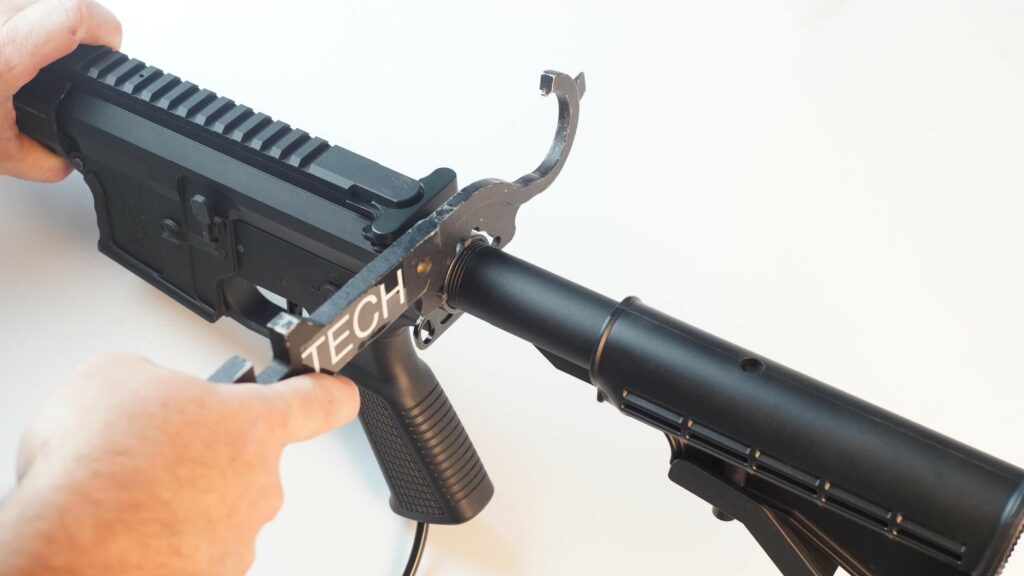
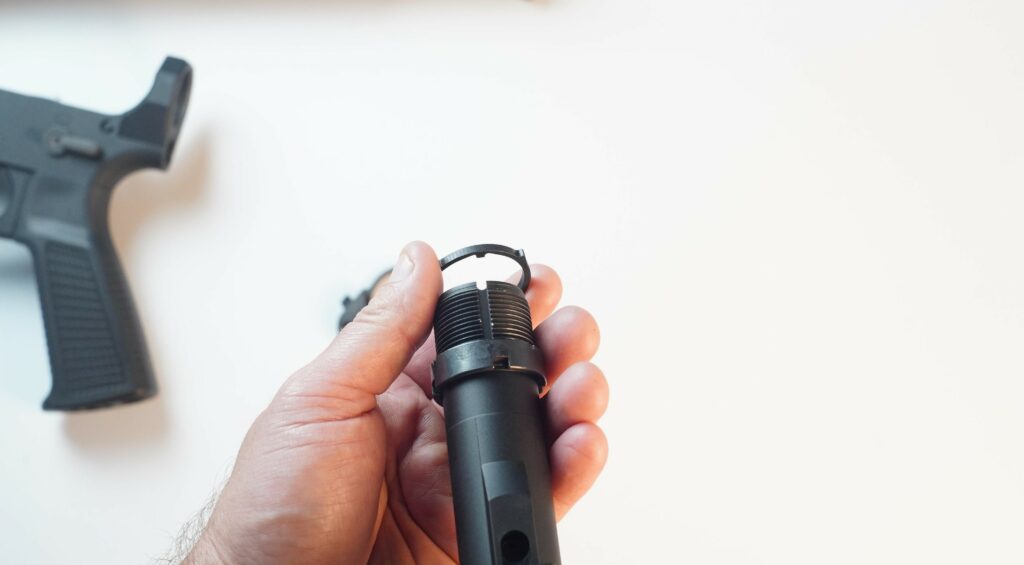
Loosen castle nut with armorer’s wrench. Unscrew castle nut all the way back and slide buffer tube plate back. Don’t lose selector spring and detent if not retained in lower. Unscrew buffer tube.
Install FRAC orientation ring against castle nut.
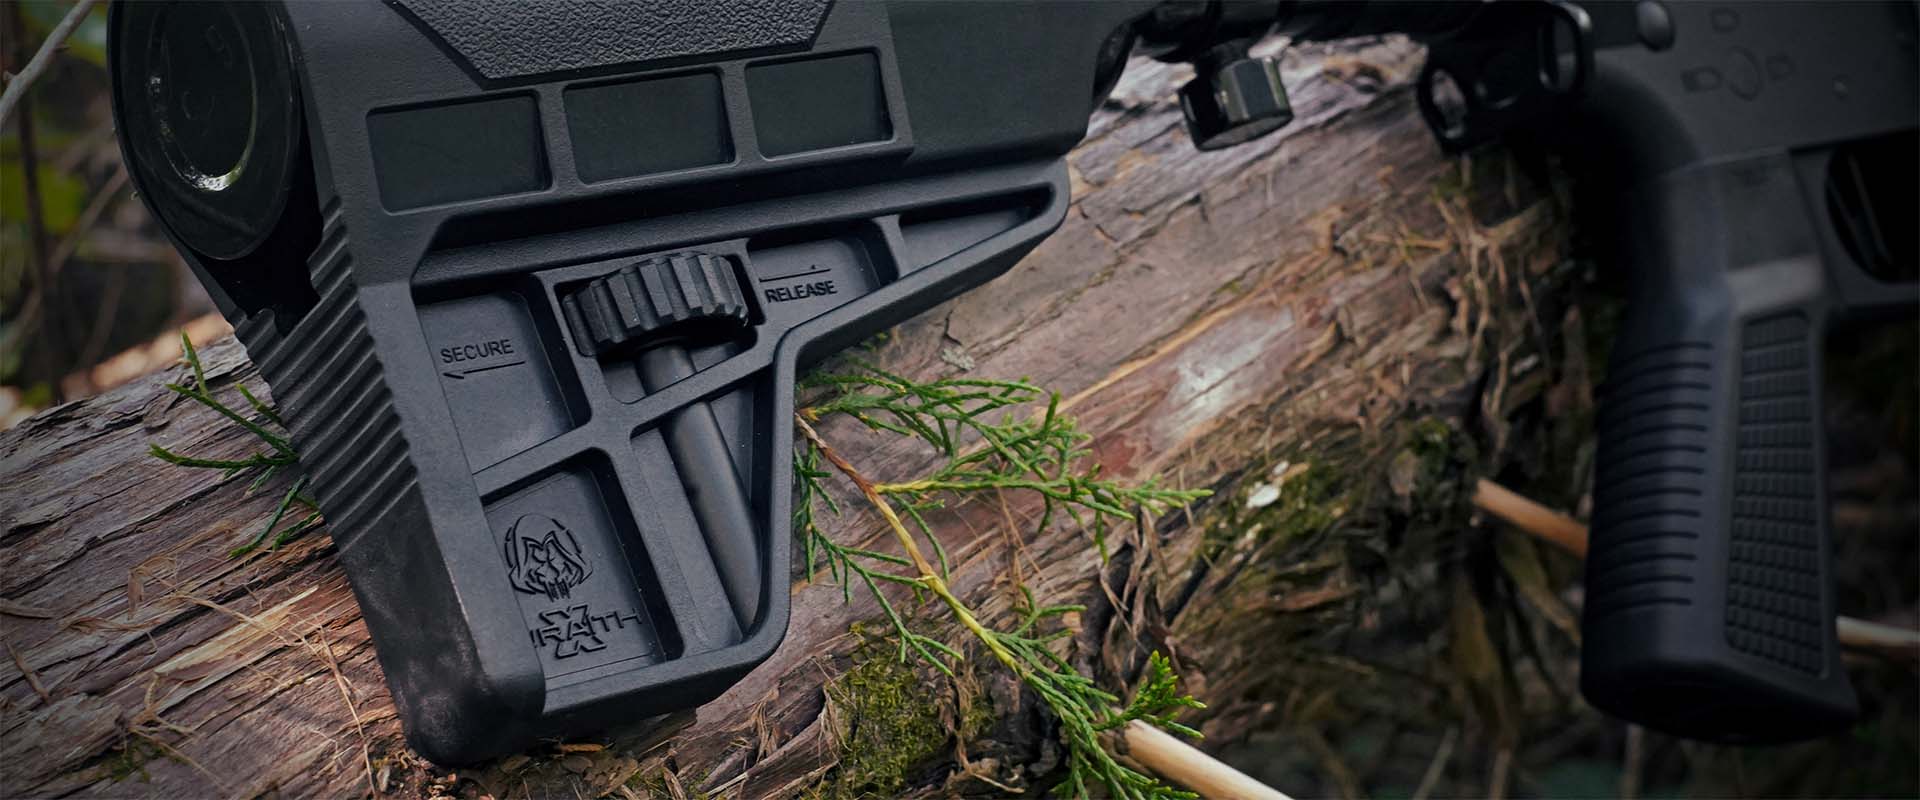
Install FRAC body with button on the left side of the gun. (Shown upside down. Don’t push the button on the FRAC!)
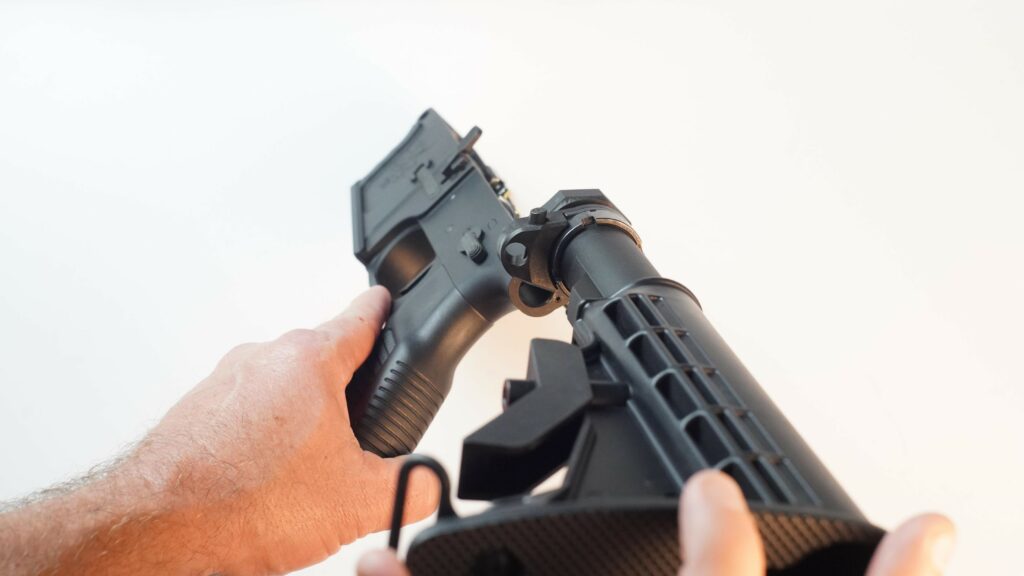
Thread buffer tube into lower. Align buffer tube to gun and push FRAC up to the back of the lower. Snug down castle nut by hand. Do not thread buffer tube in past the front edge of the buffer tube extension or upper will not install.
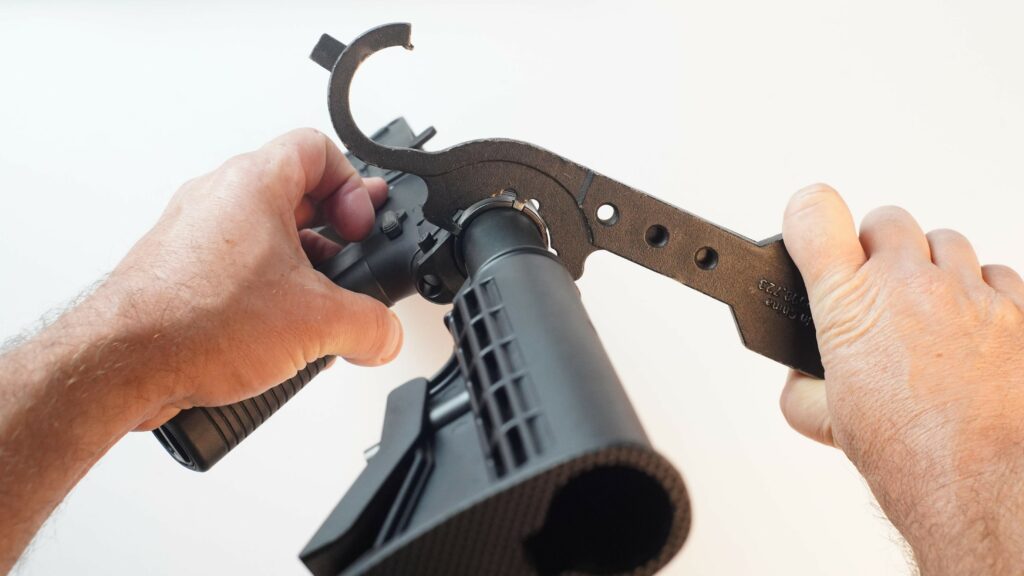
Tighten Castle nut with armorer’s wrench.
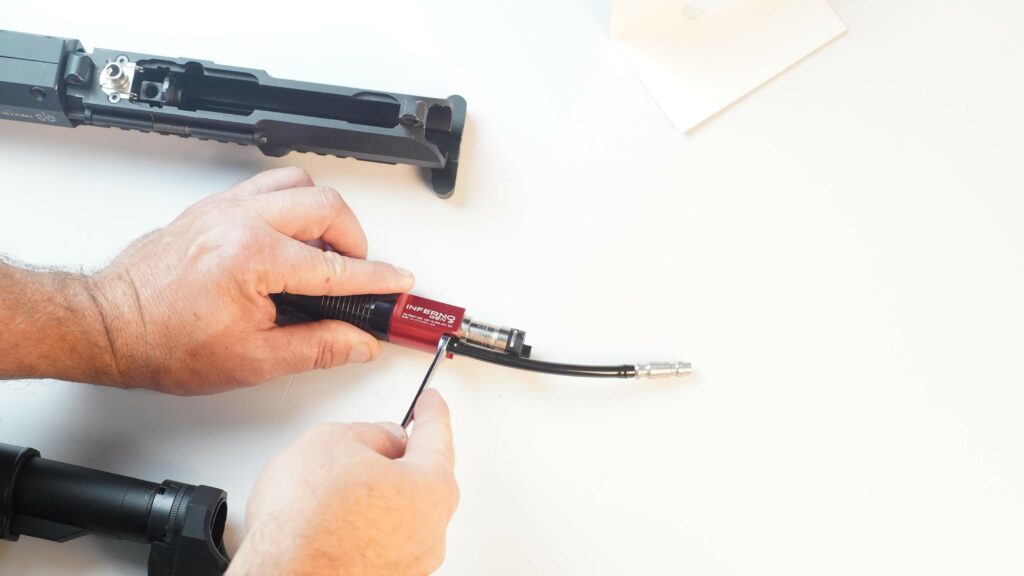
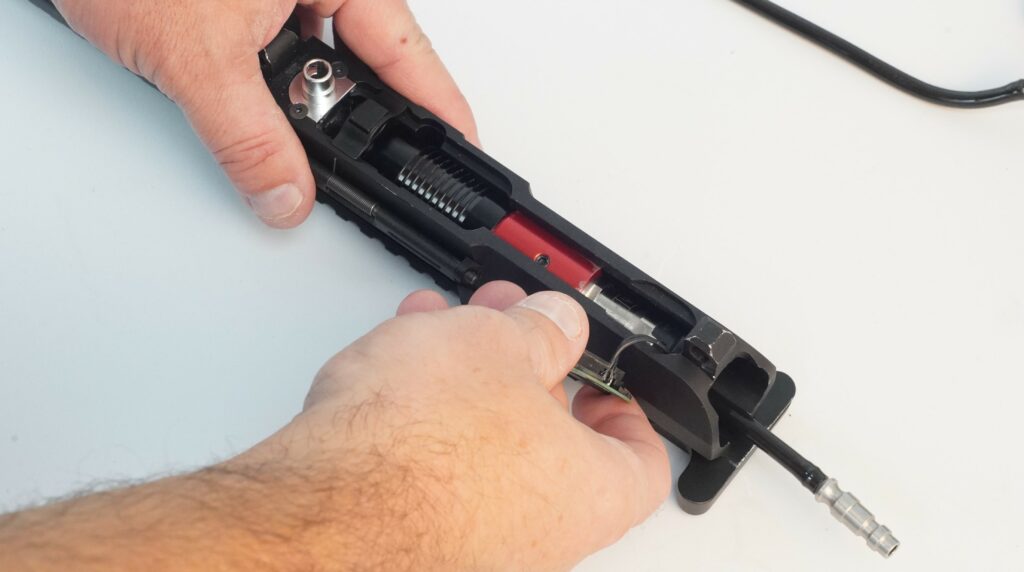
Remove air line with ¼” wrench.
Install FRAC air line with ¼” wrench.
M4/MTW-9: Use 3.5″ airline. MTW-308/Shotgun: use 4.5″ airline.
Install engine.
M4/MTW-9: Upside down (airline on top of engine). MTW-308: Install regularly.
Feed airline through FRAC while holding button, then secure body pins.
Uninstallation
Got a FRAC but want to switch back to a traditional grip line? It’s easy to uninstall. But first you’ll need a standard gripline and your choice of sling plate.
Loosen the castle nut with an armorer’s wrench, and then unscrew the buffer tube from the MTW to remove it. If your FRAC was preinstalled on your MTW when you purchased it, your buffer tube may had a small amount of blue Loctite applied to the threads, requiring a little additional force to remove.
Remove the FRAC and FRAC orientation ring and replaced with your sling plate. Reinstall your buffer tube. Do not thread buffer tube in past the front edge of the buffer tube extension or upper will not install. Tighten the barrel nut.
Remove the engine from your MTW and remove the FRAC air line with ¼” wrench. Replace it with your standard grip line and reinstall your engine.
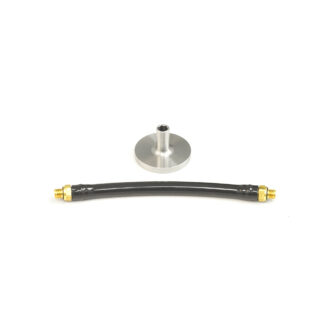
Please refer to the normal installation instructions for your WRAITH X (https://www.youtube.com/watch?v=fI1-UJvgGMc) or WRAITH Legacy product, however, MTW-308 owners will need the additional part below to replace the included hardpoint adapter and mini-airline.